
 讯号涵盖王- TOTOLINK N300RH
 现在无线路由器相信已经是人人家中的必需品,毕竟使用无线除了省去拉网路线的烦恼外,还可以同时让多台电脑或行动装置上网,家中没有无线路由器可以说是落伍了!!现在网通产品厂商相当多,每间厂商所推出的产品规格也是相当多样化,而挑选一台适合自己的无线路由器就显得相当重要,很多使用者不需要高速的无线网路规格,但却需要有良好的讯号穿墙能力,但目前市面上许多入门级无线路由器讯号品质都差强人意,这次要为大家介绍一台CP值相当不错且讯号穿墙能力还不错的一款无线路由器,TOTOLINK N300RH Highpower高功率极速广域无线分享器,N300RH Highpower采用Realtek晶片,WiFi部分规格为802.11n,传输速率最高300Mbps,天线部分采用2支9dBi可拆式全向性天线,提供相当不错的讯号品质与穿墙能力,并提供无线中继、无线桥接、上网时间管理、远端唤醒功能,还内建了一组MOD专用埠,这次最值得一提的是多了系统定时重启功能,让使用者可自行设定机器重启,不用人工来做电源的开关或软体设定重启,说了这么多还是来直接看看这台TOTOLINK N300RH Highpower高功率极速广域无线分享器。
▼NCC所认证的天线为10dBi,也就是说讯号强度相当不错,相信表现是值得期待的!!
 TOTOLINK N300RH Highpower包装与本体
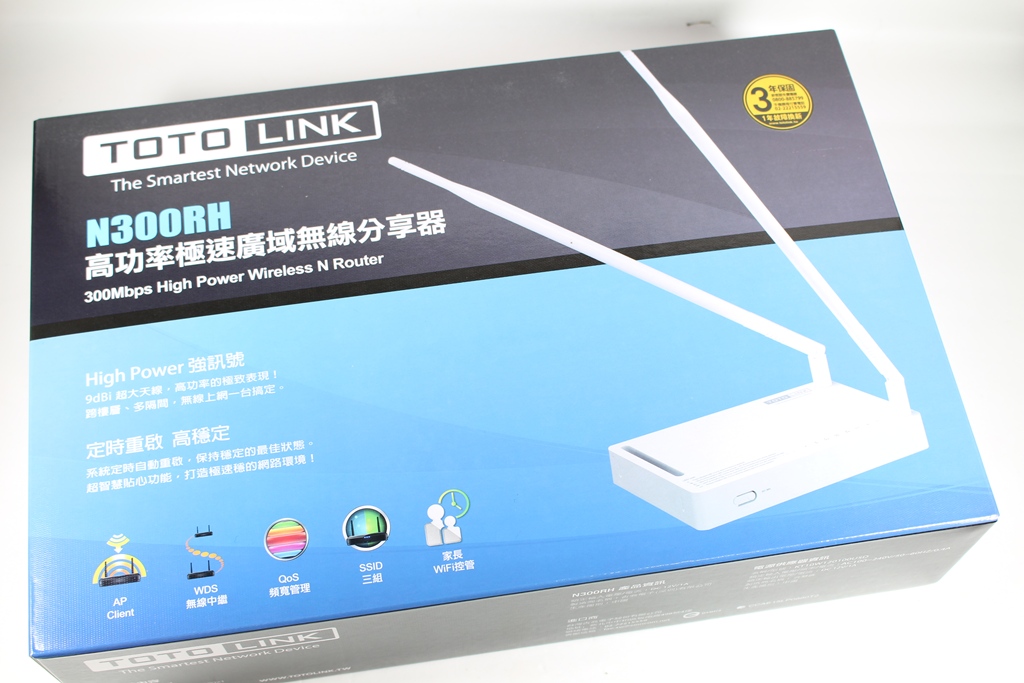
▼外包装简单低调,标示产品型号、特色,并有产品外观照片,原厂提供三年保固一年换新服务
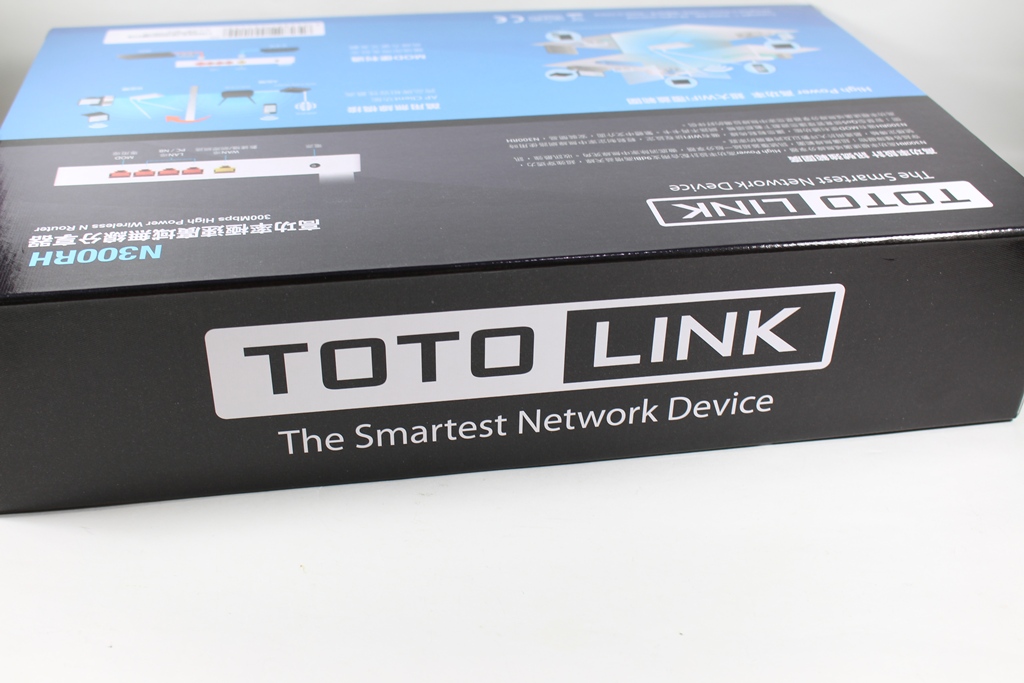
▼TOTOLINK Logo
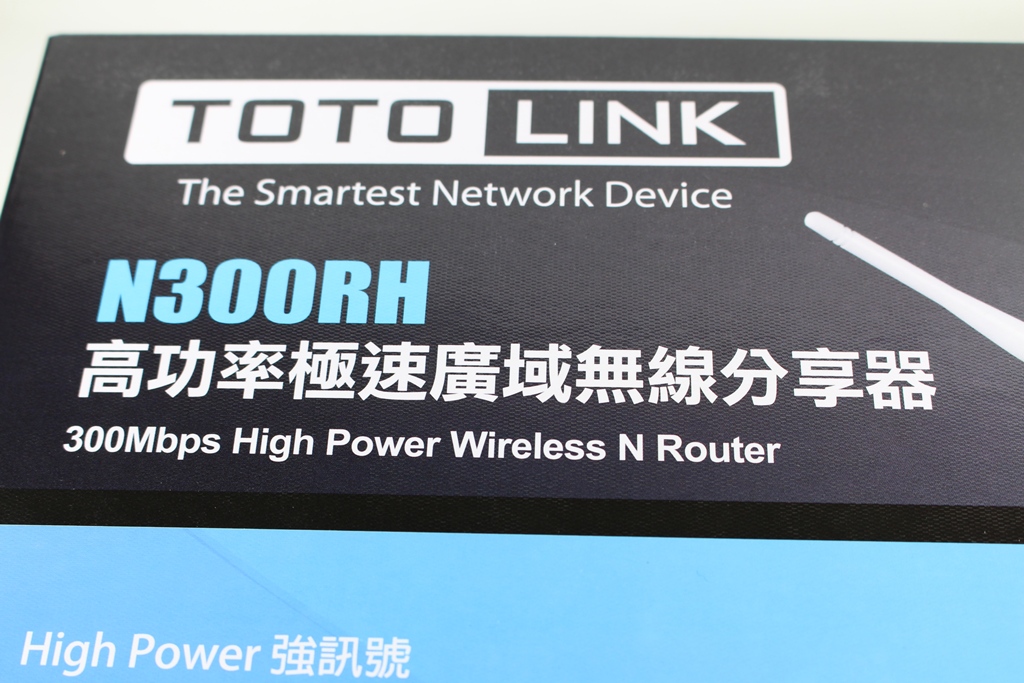
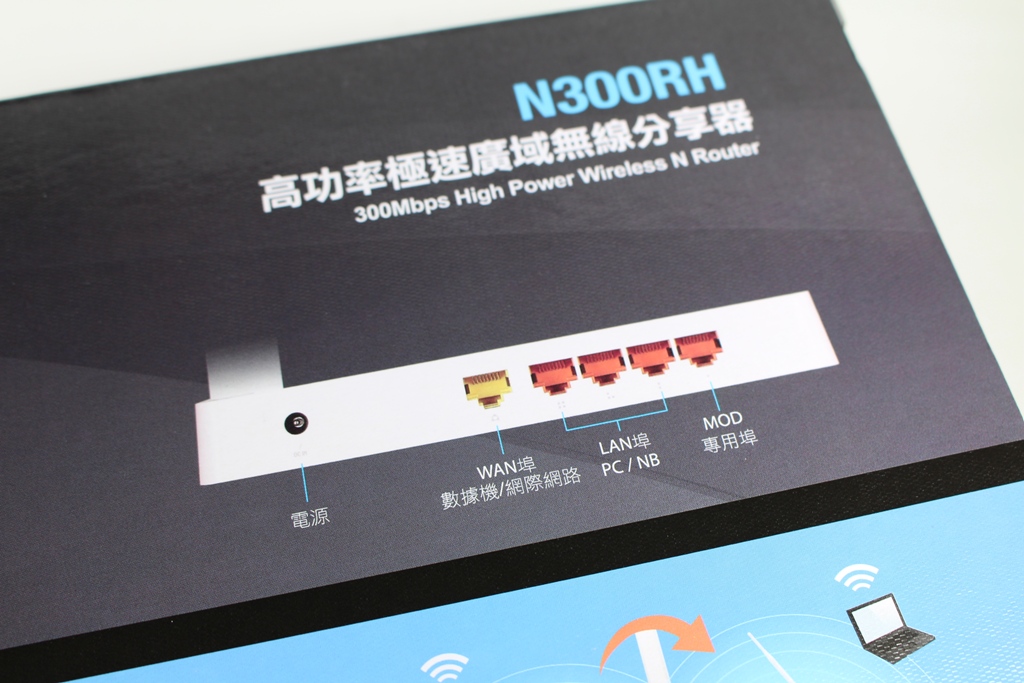
▼TOTOLINK N300RH Highpower 300Mbps Wireless N Router
▼原厂提供三年保固一年换新服务,并有线上客服服务

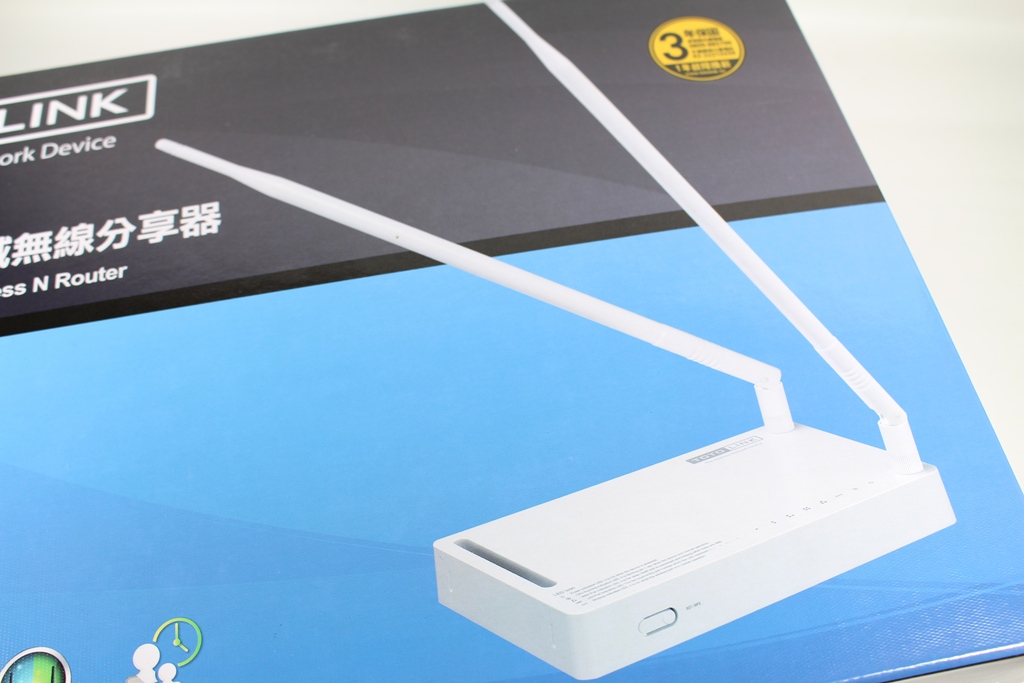
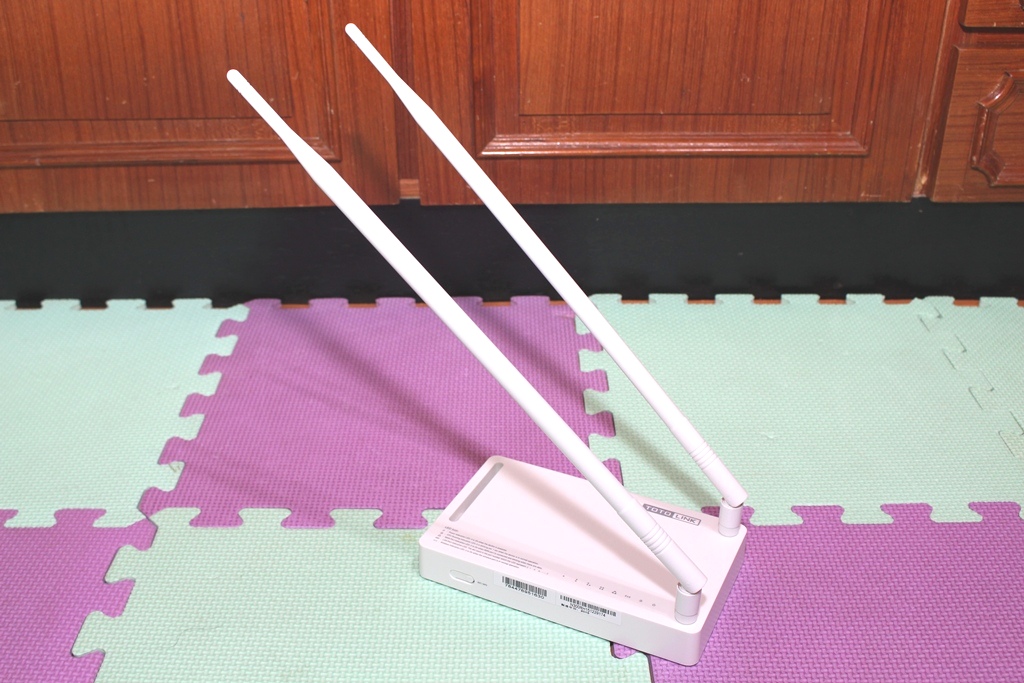
▼N300RH外型,天线真的相当大支!!
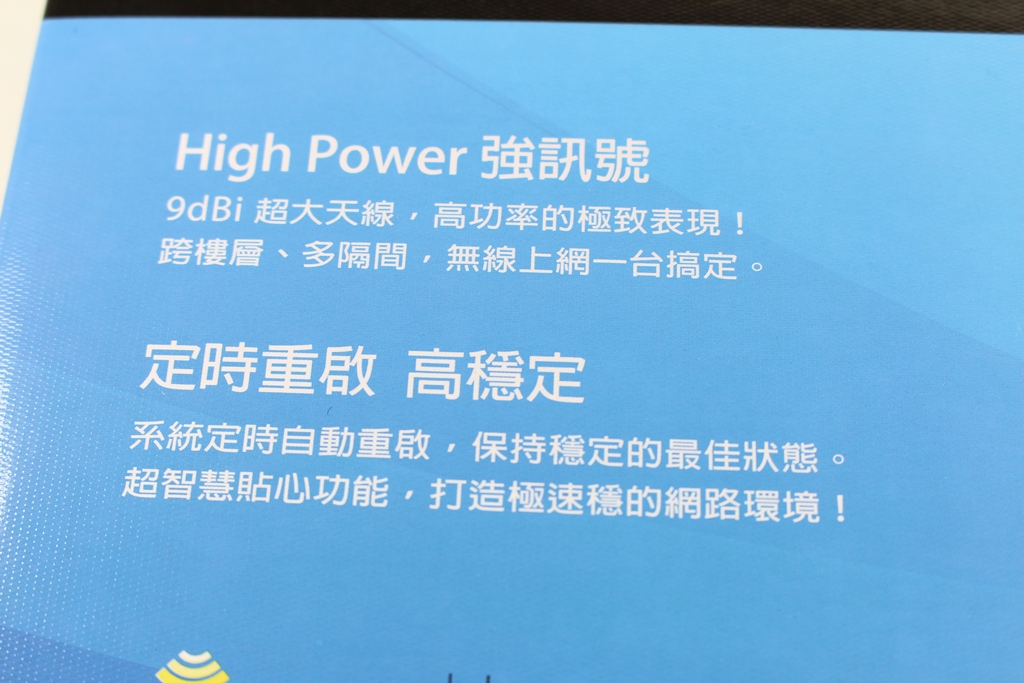
▼TOTOLINK N300RH Highpower最大特点High Power强讯号与定时重启保持网路最佳状态
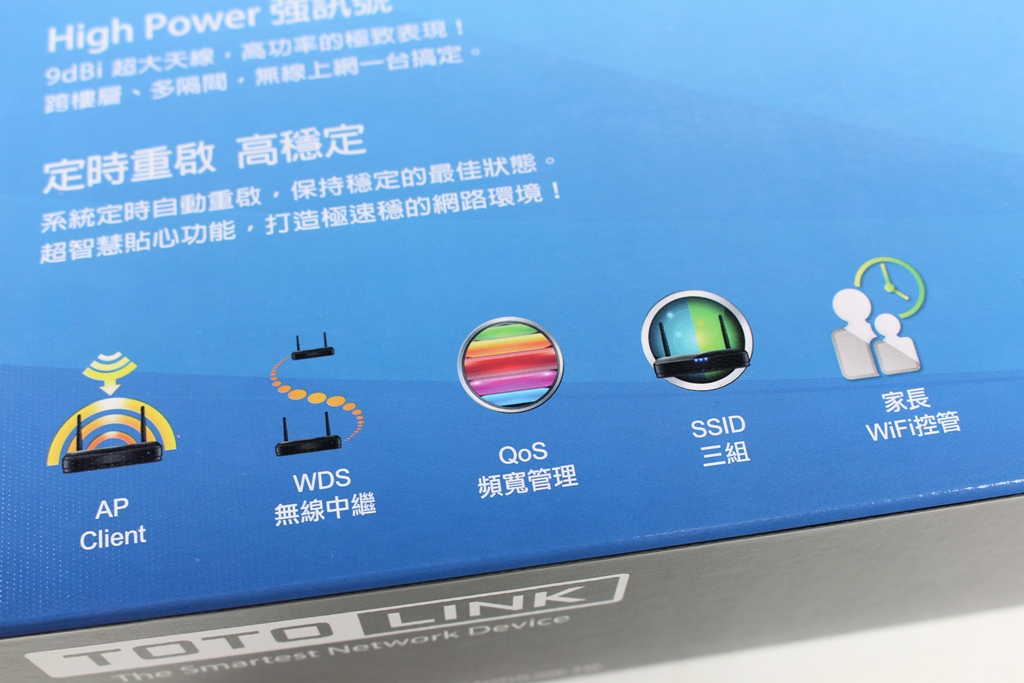
▼TOTOLINK N300RH Highpower特点:
1.支援AP Client功能
2.支援WDS无线中继
3.支援QoS频宽管理
4.支援三组SSID设定
5.家长WiFi控管
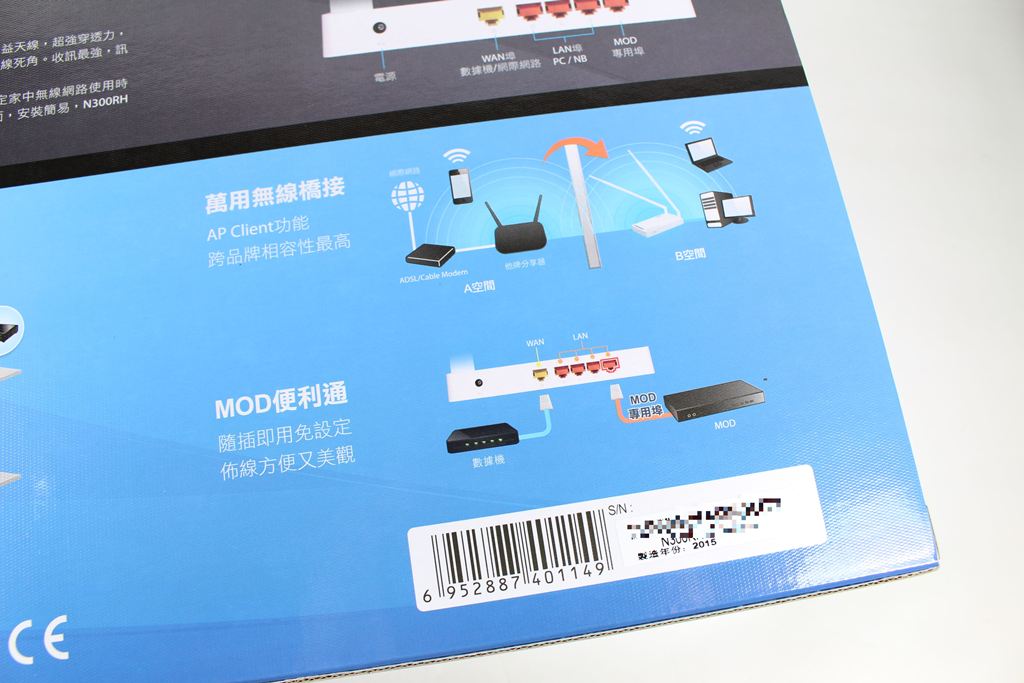
▼包装背面说明产品应用、功能简介与连接埠介绍

▼TOTOLINK N300RH Highpower功能简介

▼TOTOLINK N300RH Highpower连接埠介绍
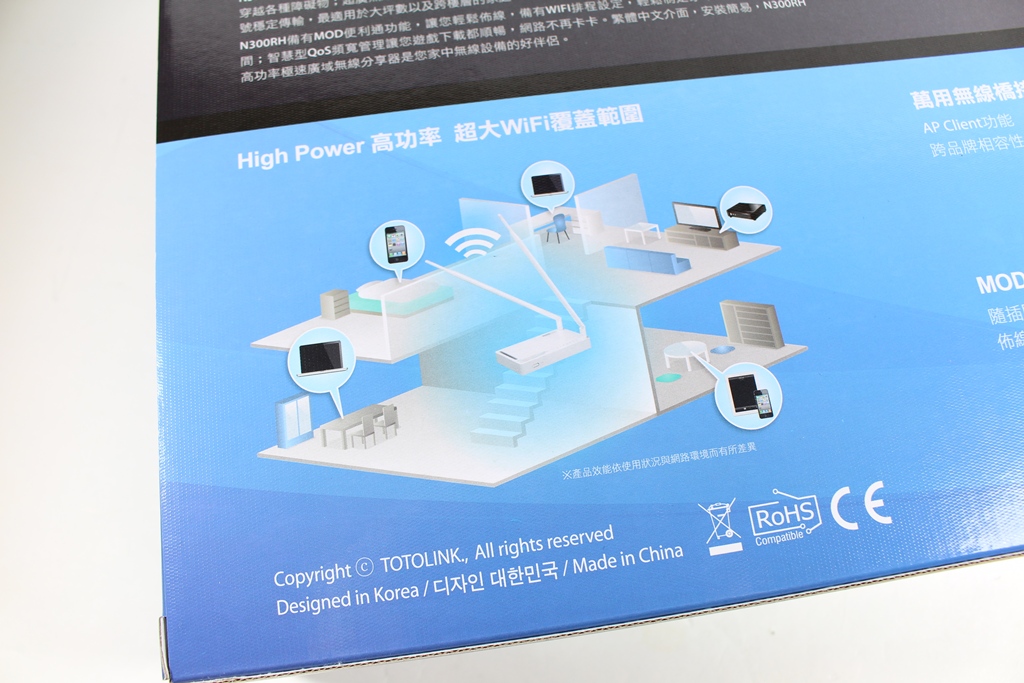
▼TOTOLINK N300RH Highpower应用:可用于跨楼层,超大WiFi涵盖范围,并支援万用桥接与MOD便利通
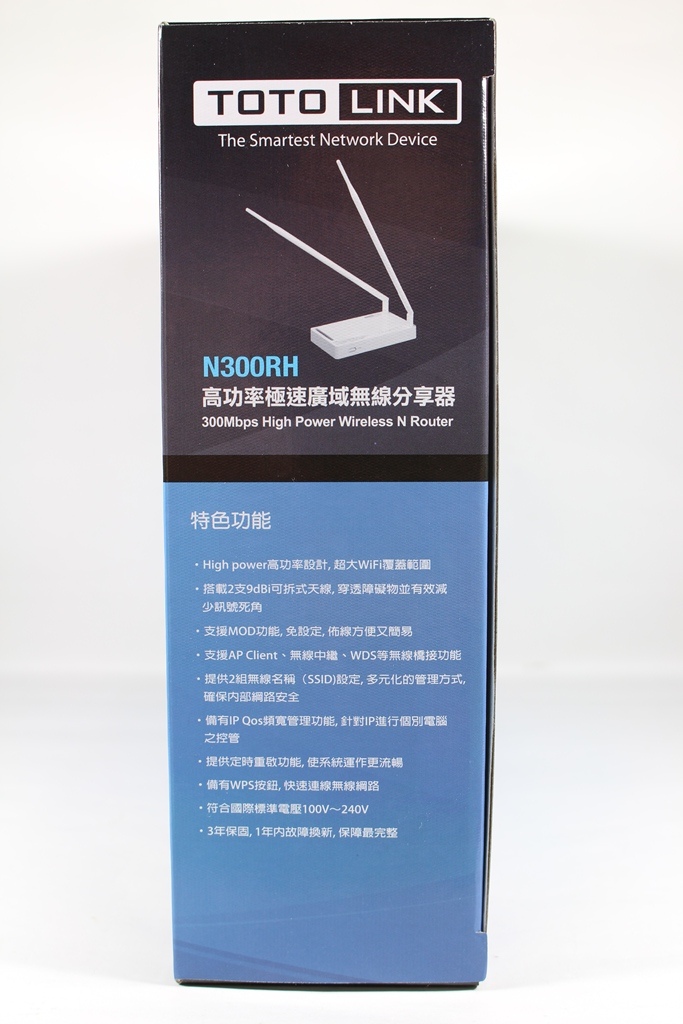
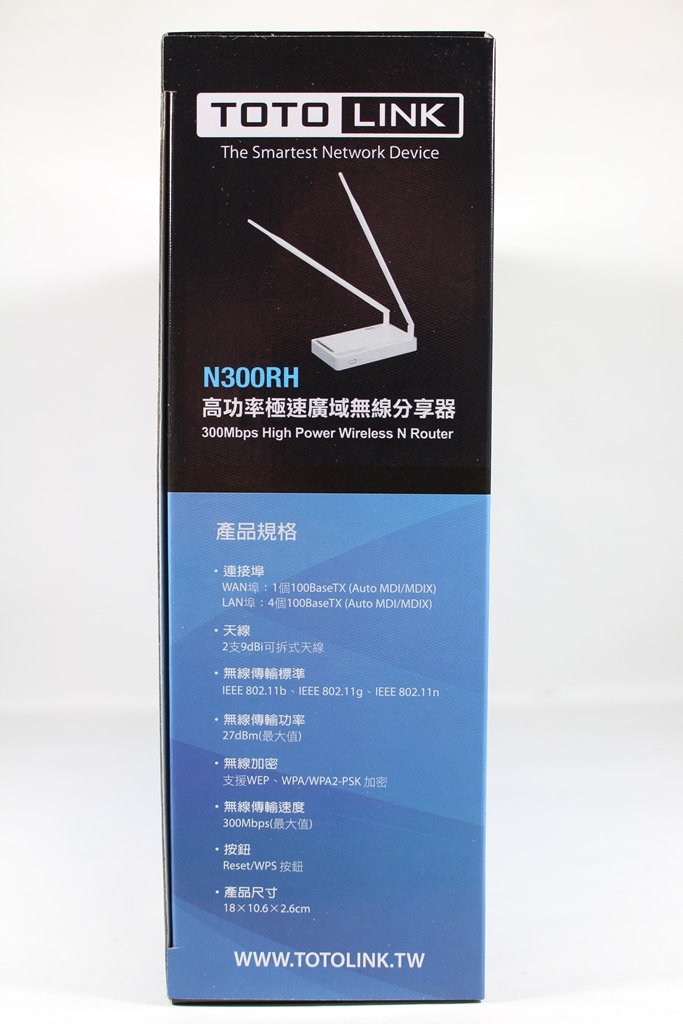
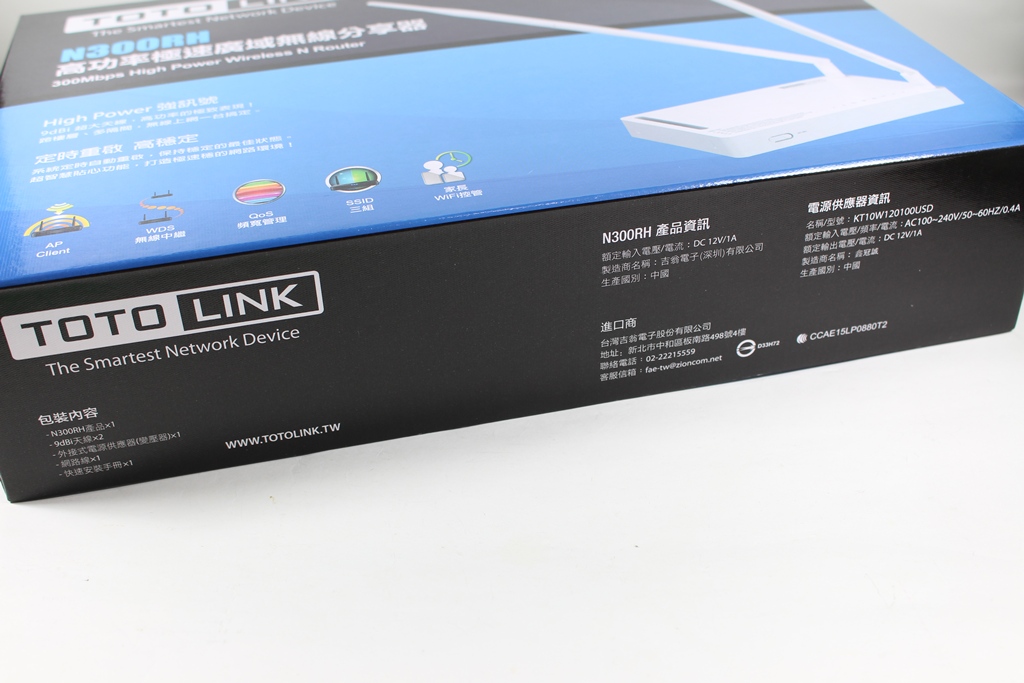
▼包装侧面说明产品规格与特色功能说明
▼包装上下侧为TOTOLINK Logo、包装内容物说明、产品资讯与代理商资讯
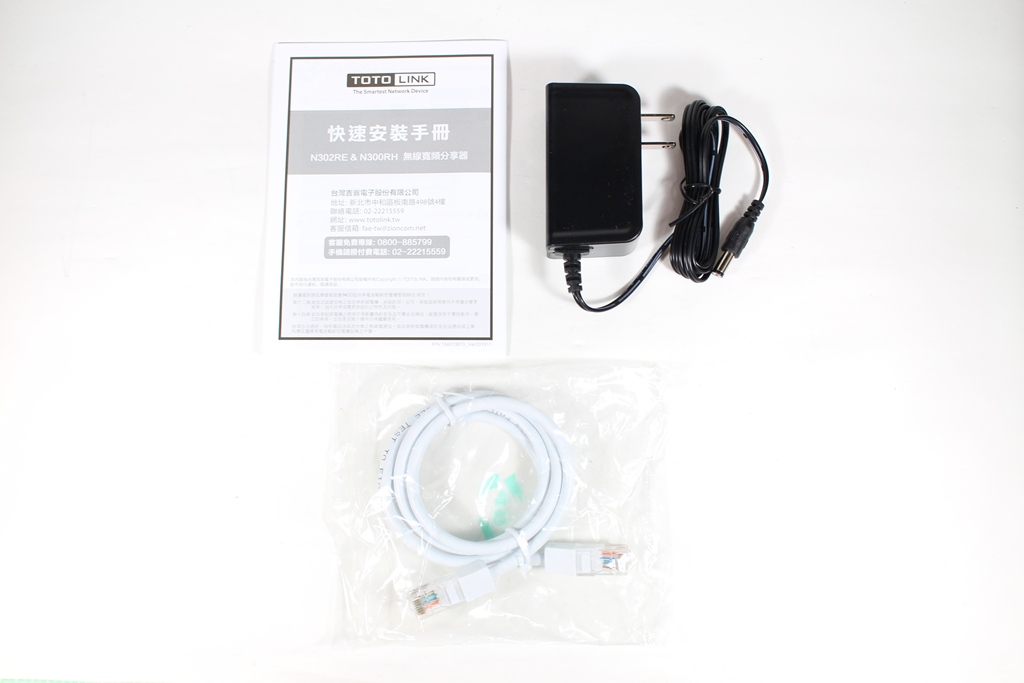
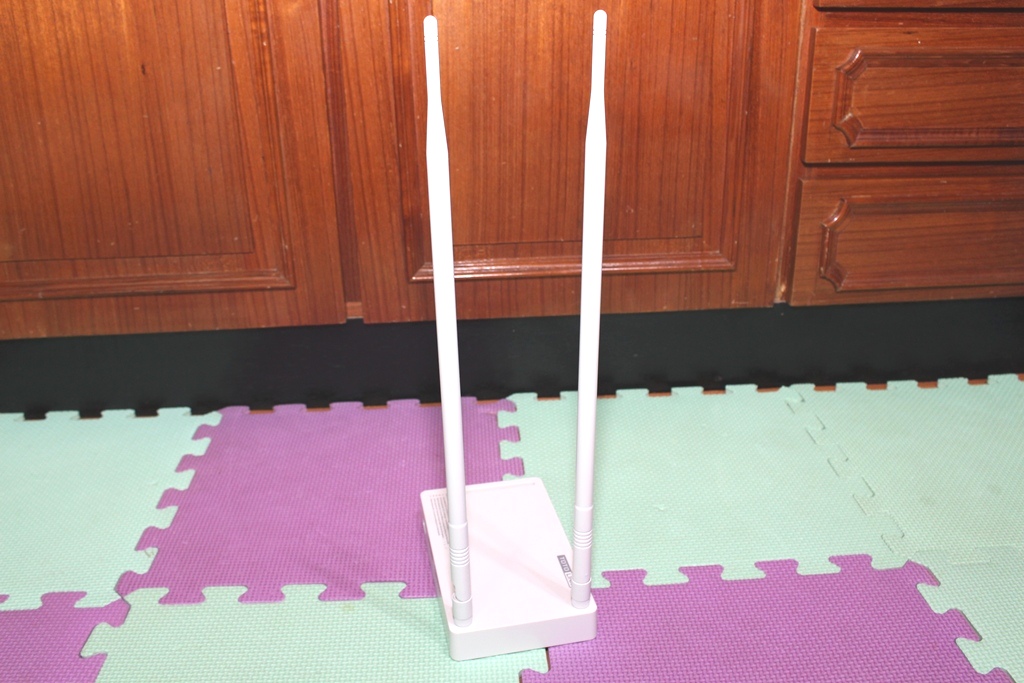
▼配件部分:快速安装手册、变压器、网路线与两支9dBi天线,天线真的很长XDD


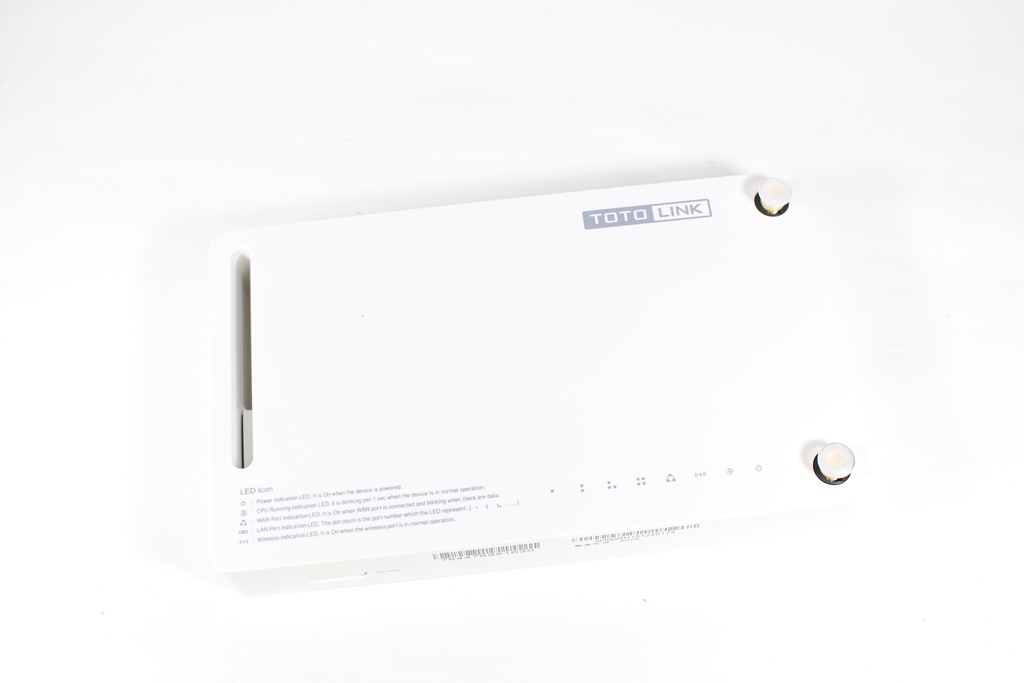
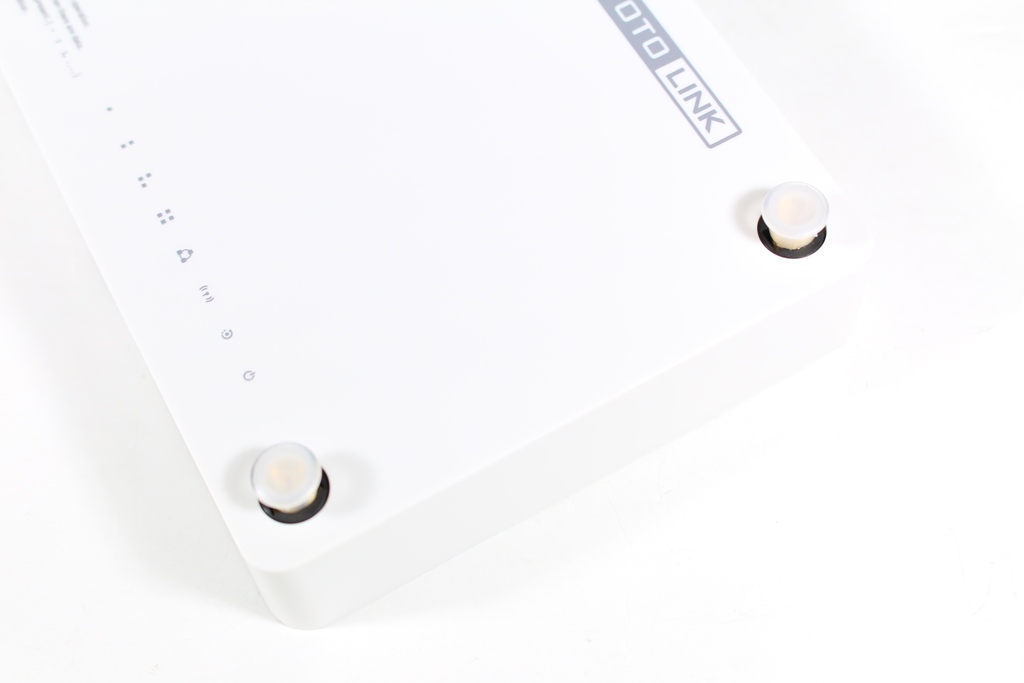
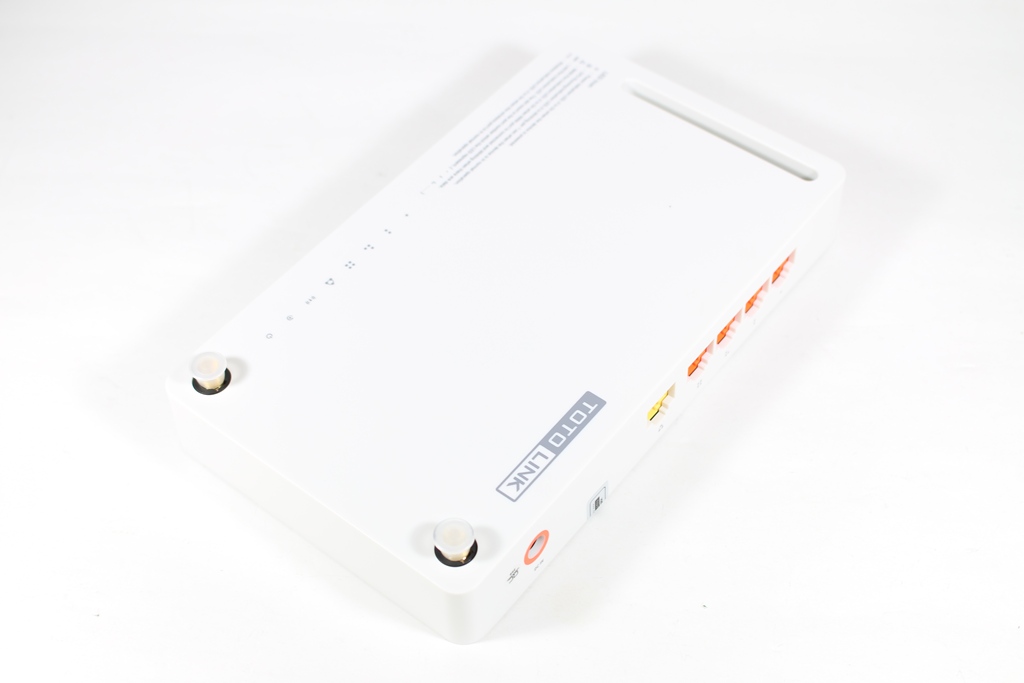
▼TOTOLINK N300RH Highpower本体一览,本体采用白色设计,天线安装处有保护盖做保护
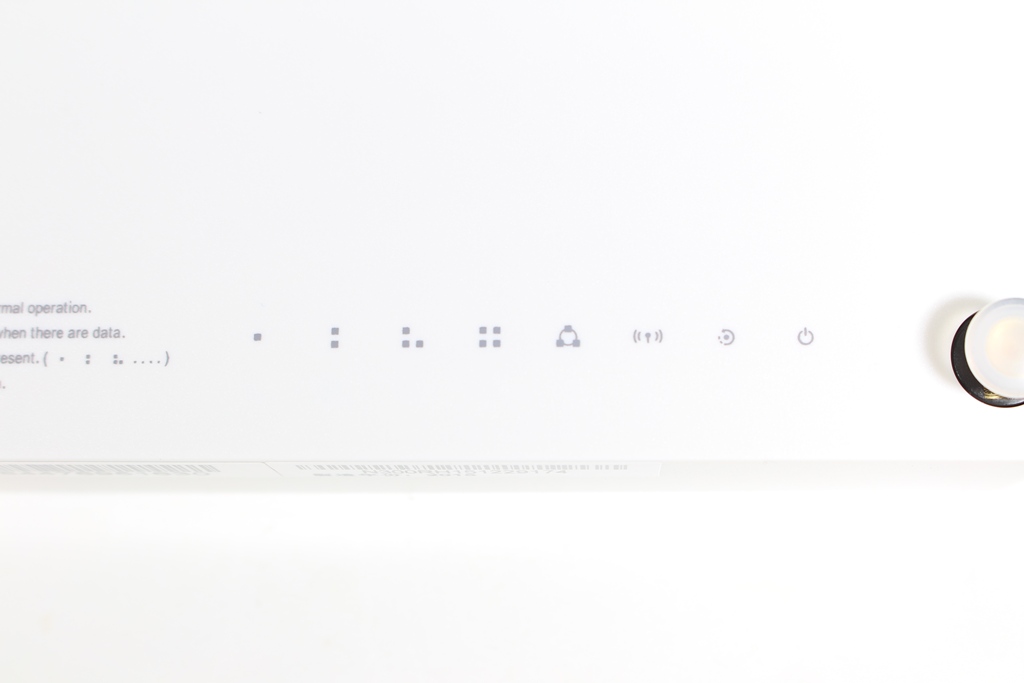
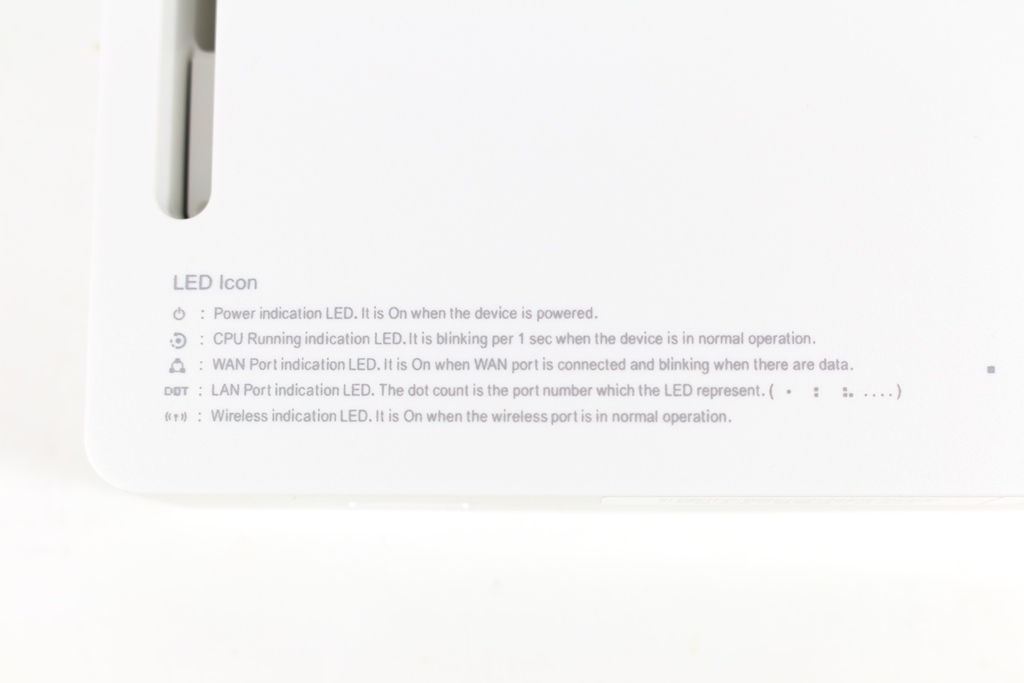
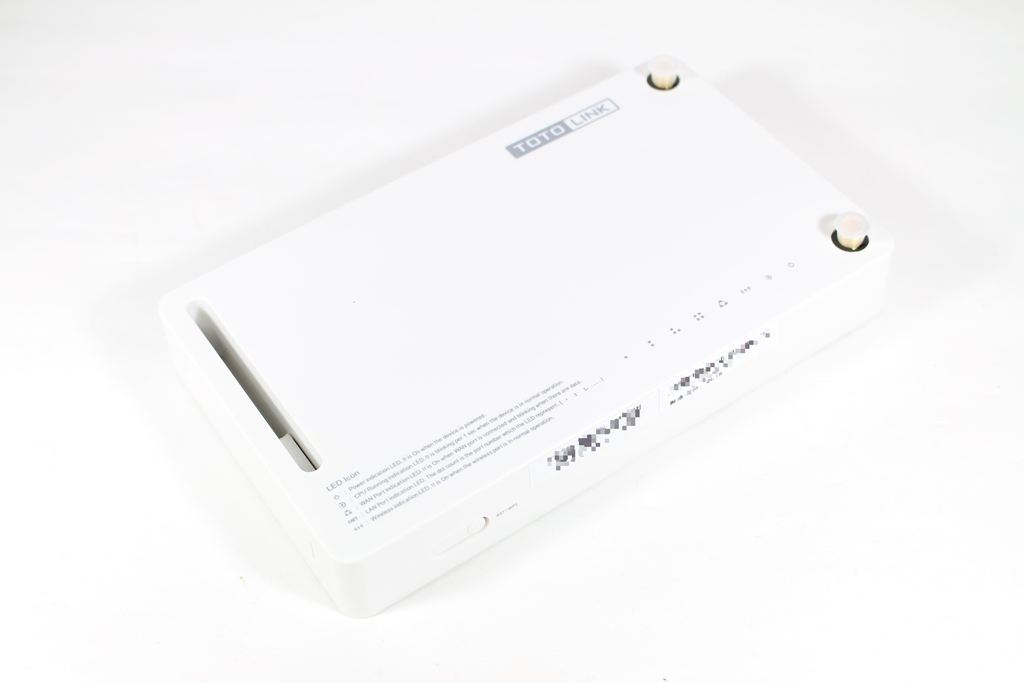
▼指示灯号部分与说明,指示灯号有线网路灯号、WiFi灯号、电源灯号…等
▼天线安装处有保护盖做保护
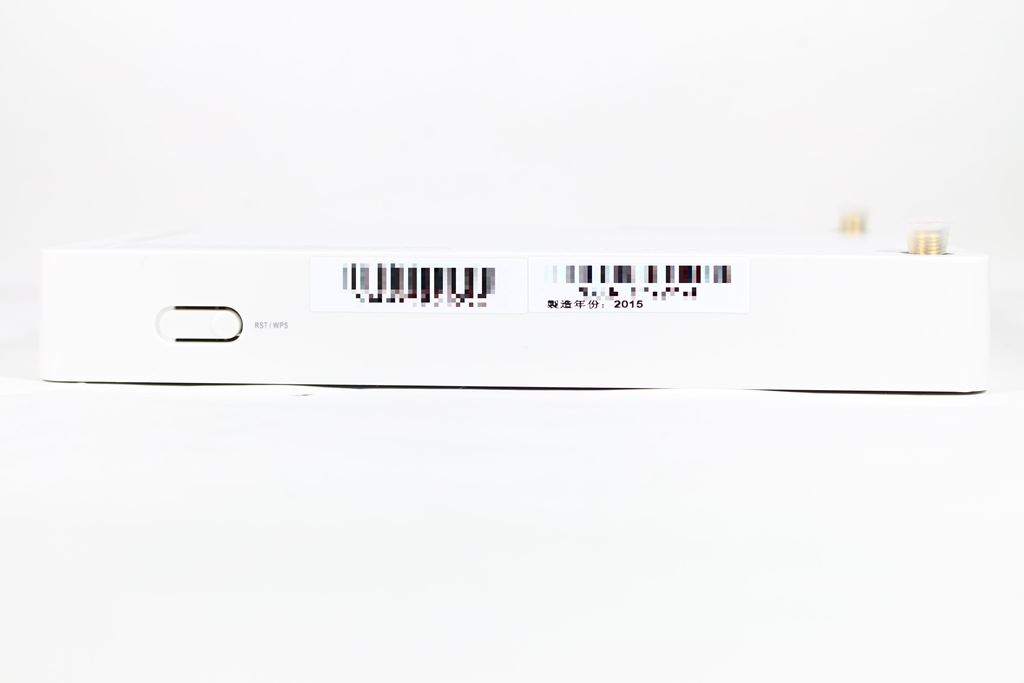
▼reset与WPS共用按钮
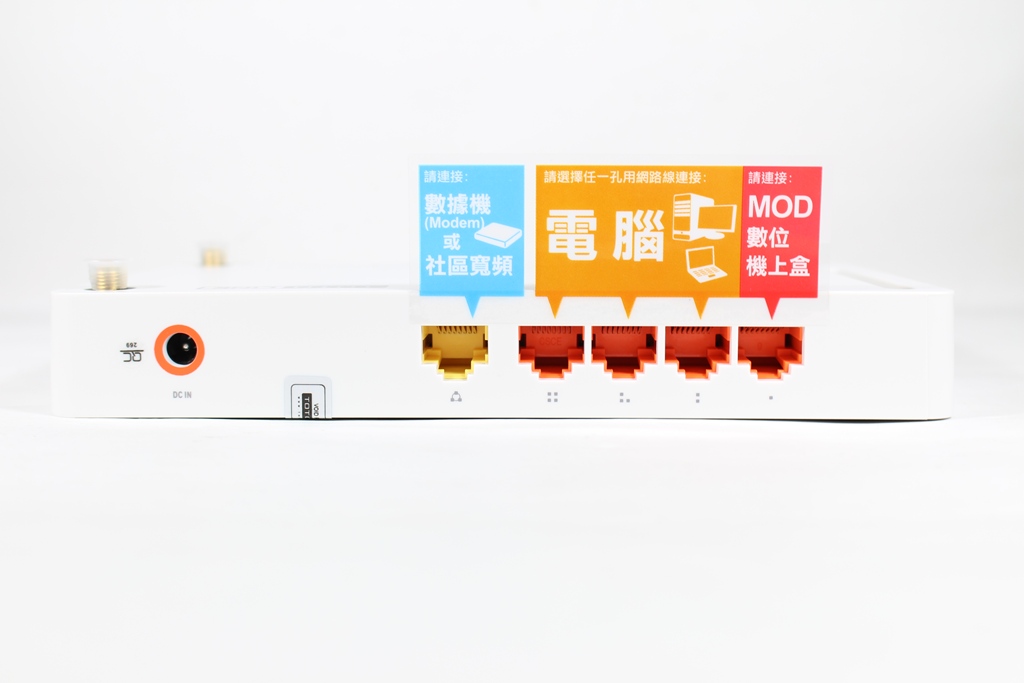
▼另一侧为I/O部分,分别为WAN、LAN与电源,上方贴有有线网路安装说明
▼TOTOLINK N300RH Highpower其他角度一览
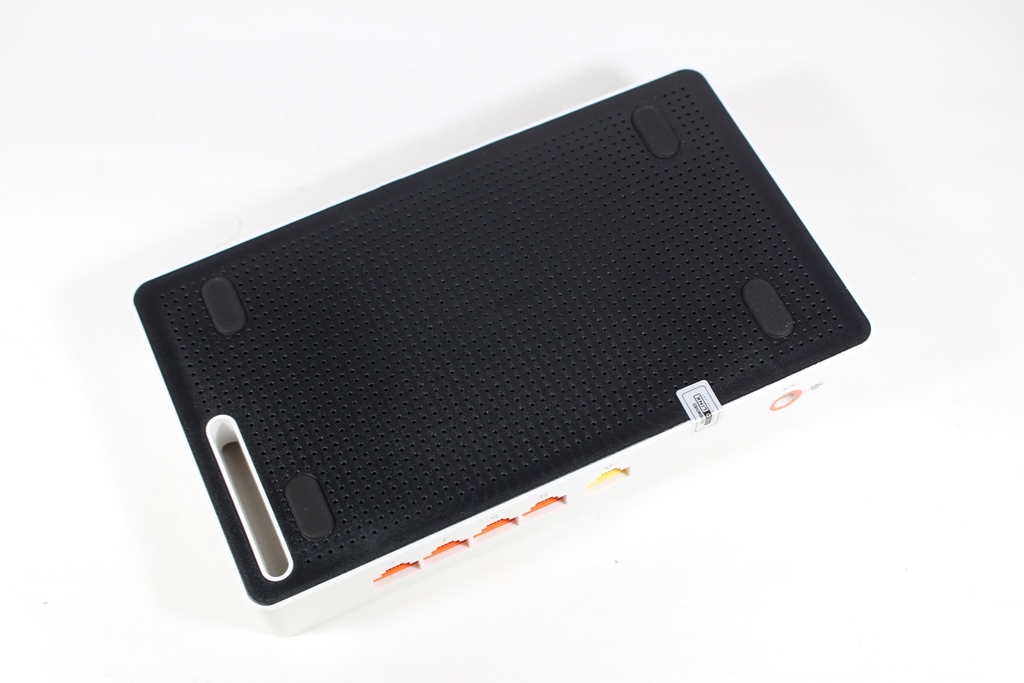
▼底部设有防滑胶垫,并有开孔做散热
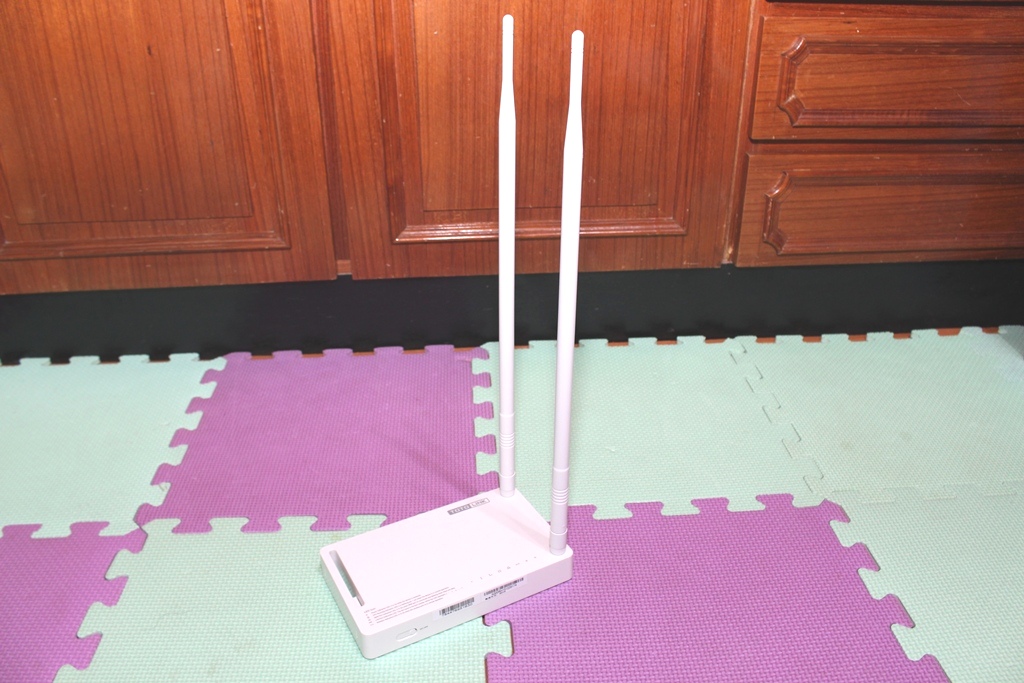
▼安装天线后一览,天线真的太长了,调整角度的时候要注意会不会因为重心不稳而造成机器放不稳XDD
 TOTOLINK N300RH Highpower基本设定介绍
近期推出的新产品操作介面都是全新介面,与以往的设定页面稍有不同,这次就来介绍新款的操作介面拉
▼快速设定有别以往步骤方式,直接可看到有线网路设定、WiFi设定与MOD设定,有线网路部分则必须要按照网路连线方式做选择,有DHCP、固定IP与PPPoE


以上是快速设定,完成以上几个简单设定步骤,没有其他需求的使用这基本上就可以开始使用这台路由器了!!设定非常简单!!不到5分钟可以轻松搞定难搞的网路设定
接下来进入到进阶设定部分
▼系统状态:可看到目前路由器内的有线网路与无线网路的状态,还可看到有哪几个连接埠有网路连线


▼连线模式:可设定连线模式,有AP-Clinet、无线用户端模式、无线中继、路由器模式、Bridge模式与Bridge用户端模式,预设为路由器模式

▼网路设定-网路连线设定:设定WAN连线方式,可选择DHCP、PPPoE与固定IP


▼网路设定-区域网路设定:可设定区域网路与DHPC IP范围,并可设定DNS方式


▼无线网路设定-无线网路基本设定:可设定SSID、加密方式、密码与限制连线数


▼无线网路设定-SSID1设定:可设定第二组SSID、加密方式、密码与限制连线数

▼无线网路设定-SSID2设定:可设定第三组SSID、加密方式、密码与限制连线数

▼无线网路设定-进阶设定:可设定无线网路细项设定与WiFi模式


▼无线网路设定-WDS设定:可设定WiFi WDS功能

▼无线网路设定-无线MAC位置控制:可设定无线网路MAC过滤机制

▼无线网路设定-WPS设定:可设定WiFi WPS功能

▼无线网路设定-WiFi排程:可设定每天开启WiFi功能时段

▼QoS:可设定QoS是否开启,并设定流量管制规则

▼防火墙-MAC位置过滤:可设定无线网路MAC位置黑名单与白名单

▼防火墙-IP位置过滤:可设定IP过滤功能

▼防火墙-通讯埠过滤:可设定通讯埠过滤功能

▼防火墙-URL关键字过滤:可设定URL关键字过滤功能

▼防火墙-通讯埠转发:可设定通讯埠转发功能

▼防火墙-DMZ:可设定DMZ相关参数

▼系统工具-韧体升级:可升级路由器内的韧体档案

▼系统工具-备份/还原:可备份与还原路由器设定参数,也可还原为原厂预设值

▼系统工具-DDNS:可设定DDNS相关设定


▼系统工具-系统时间:可设定时间更新伺服器与时区

▼系统工具-登入密码设定:可修改路由器登入密码

▼系统工具-定时重启时间表:可设定定时重启功能

▼系统工具-系统重新启动:可将系统做重启启动
 应用介绍3组SSID区隔网域
如果使用者需要多个WiFi网域的时候,则可以利用TOTOLINK N300RH Highpower无线路由器设定三个SSID来区隔网域,设定也是相当容易的喔!!
▼进入无线网路设定内的SSID设定,设定好其他两组SSID与密码后就大功告成!!


▼设定完成后即可看到总共有三个SSID可以连线
 网路中继站
网路中继站当家中原有一台路由器,但WiFi讯号有死角时,则可以利用TOTOLINK N300RH Highpower无线路由器当作中继站来使用
▼进入连线模式将连线模式设定为无线中继

▼需连线原有的WiFi讯号,输入密码后即可

▼到系统状态查看,可看到无线网路中继状态
 AP Client功能
AP Client功能简单说就是将路由器变成一台无线网路转有线网路的机器,让无法牵线的地方也能经由WiFi把网路变成有线网路使用,重点是不限厂牌与型号,只要是WiFi讯号即可!!!
▼进入连线模式将连线模式设定为AP Client

▼需连线原有的WiFi讯号,输入密码后即可


▼到系统状态查看,可看到网路连线状态为Wireless ISP
 距离与讯号强度测试
路由器讯号强度与连线距离有直接关系,5~6米基本款距离就不需再多做测试,这次测试两种距离,8米与10米,8米部分穿过3面钢筋水泥墙壁(墙壁厚度约13公分),10米部分穿过4面钢筋水泥墙壁(墙壁厚度约13公分),现在就来看看TOTOLINK N300RH Highpower的表现
▼8米测试结果-平均讯号强度平均在94.8左右,表现相当优异,三组SSID皆有不错的讯号强度,8米的距离还可以维持在94~95之间强度真的是相当惊人

▼10米测试结果-平均讯号强度平均在86.9左右,表现同样是相当优异与出色,三组SSID皆有不错的讯号强度,10米的距离还可以维持在86~88之间强度,讯号涵盖王当之无愧!!!
 总结
总结TOTOLINK N300RH Highpower表现真的是相当不错且惊人,要称他为讯号涵盖王真的当之无愧,在讯号测试上可以发现在8米与10米的表现都相当出色,讯号强度相当稳定且讯号品质相当不错,有超长两支天线的加持效果就是惊人;在设定上可以说是相当容易上手,就算是新手也是可以在短短的5分钟内迅速将网路设定完毕,如果较为进阶的使用者可以进入到进阶模式做更细部的设定,进阶设定的选项这次改版后同样也是浅显易懂,可以轻轻松松将想要的功能设定完毕,在应用上3组SSID、无线网路中继与AP Client为N300RH Highpower所主打的功能,且设定相当简单与容易,不须经由繁杂的设定就可以拥有强大的功能;价格部分相当漂亮市价约NT$1299元,有这样的讯号涵盖表现CP值相当不错;原厂提供三年保固与一年换新服务,值得一提的是TOTOLINK产品在全省的原价屋有提供快换服务,另外现在产品所有售后服务皆由吉翁电子(TOTOLINK台湾分公司)提供服务。


